Whatever time you plan to leave for a day trip on the road to Hana, leave earlier. There's so much to see and take in, even if you are moving along quickly. If you putz around taking lots of photos, you'll want even more time. Ideally we'd have done this trip over two days, but it wasn't in the cards this time. Always good to have a reason to come back.
Let's get to it...
The shoot
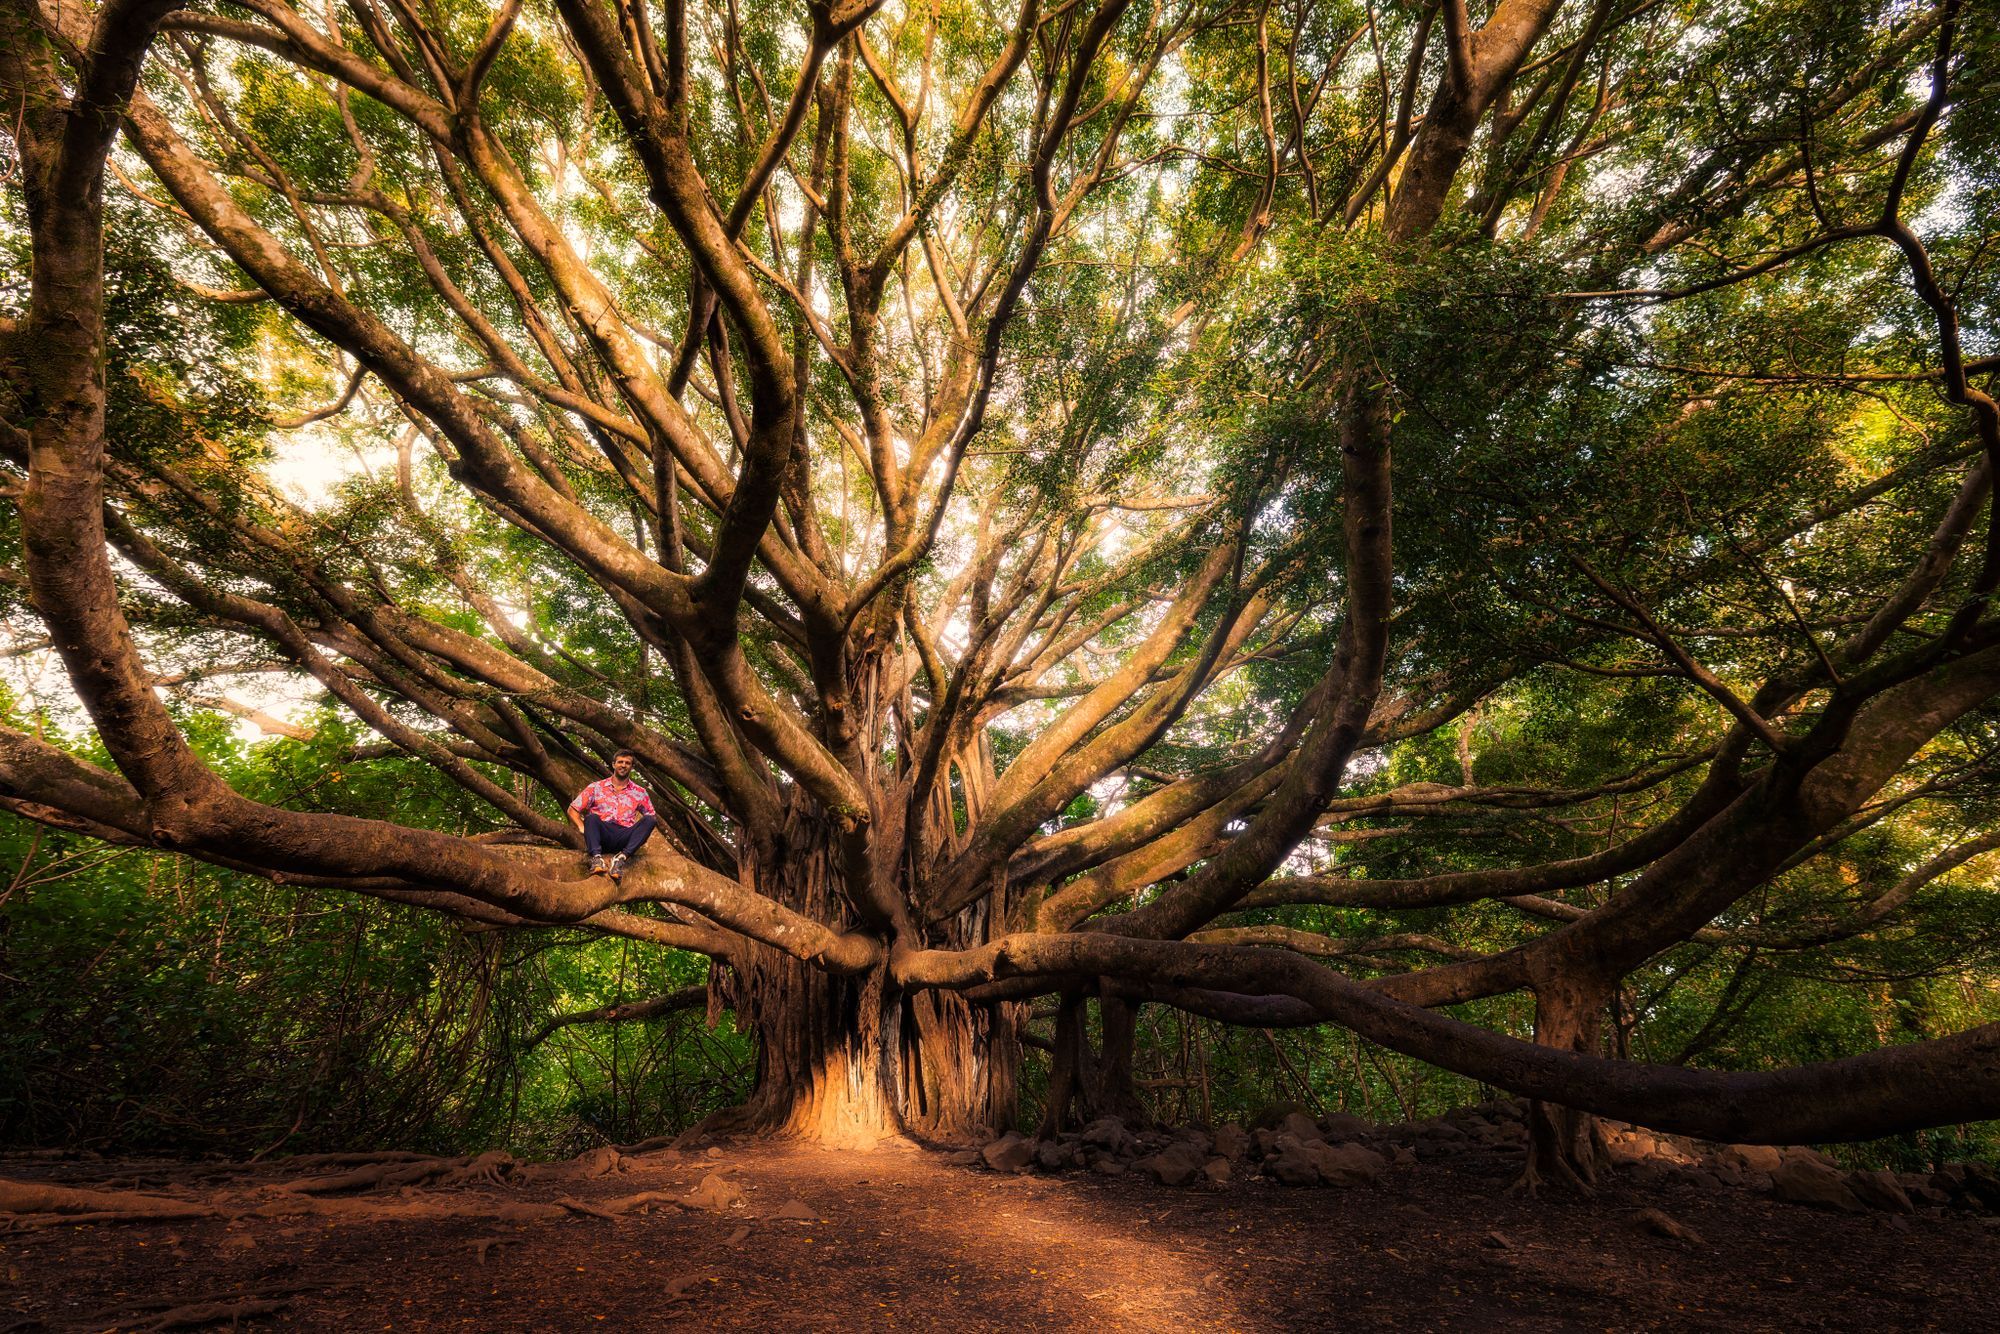
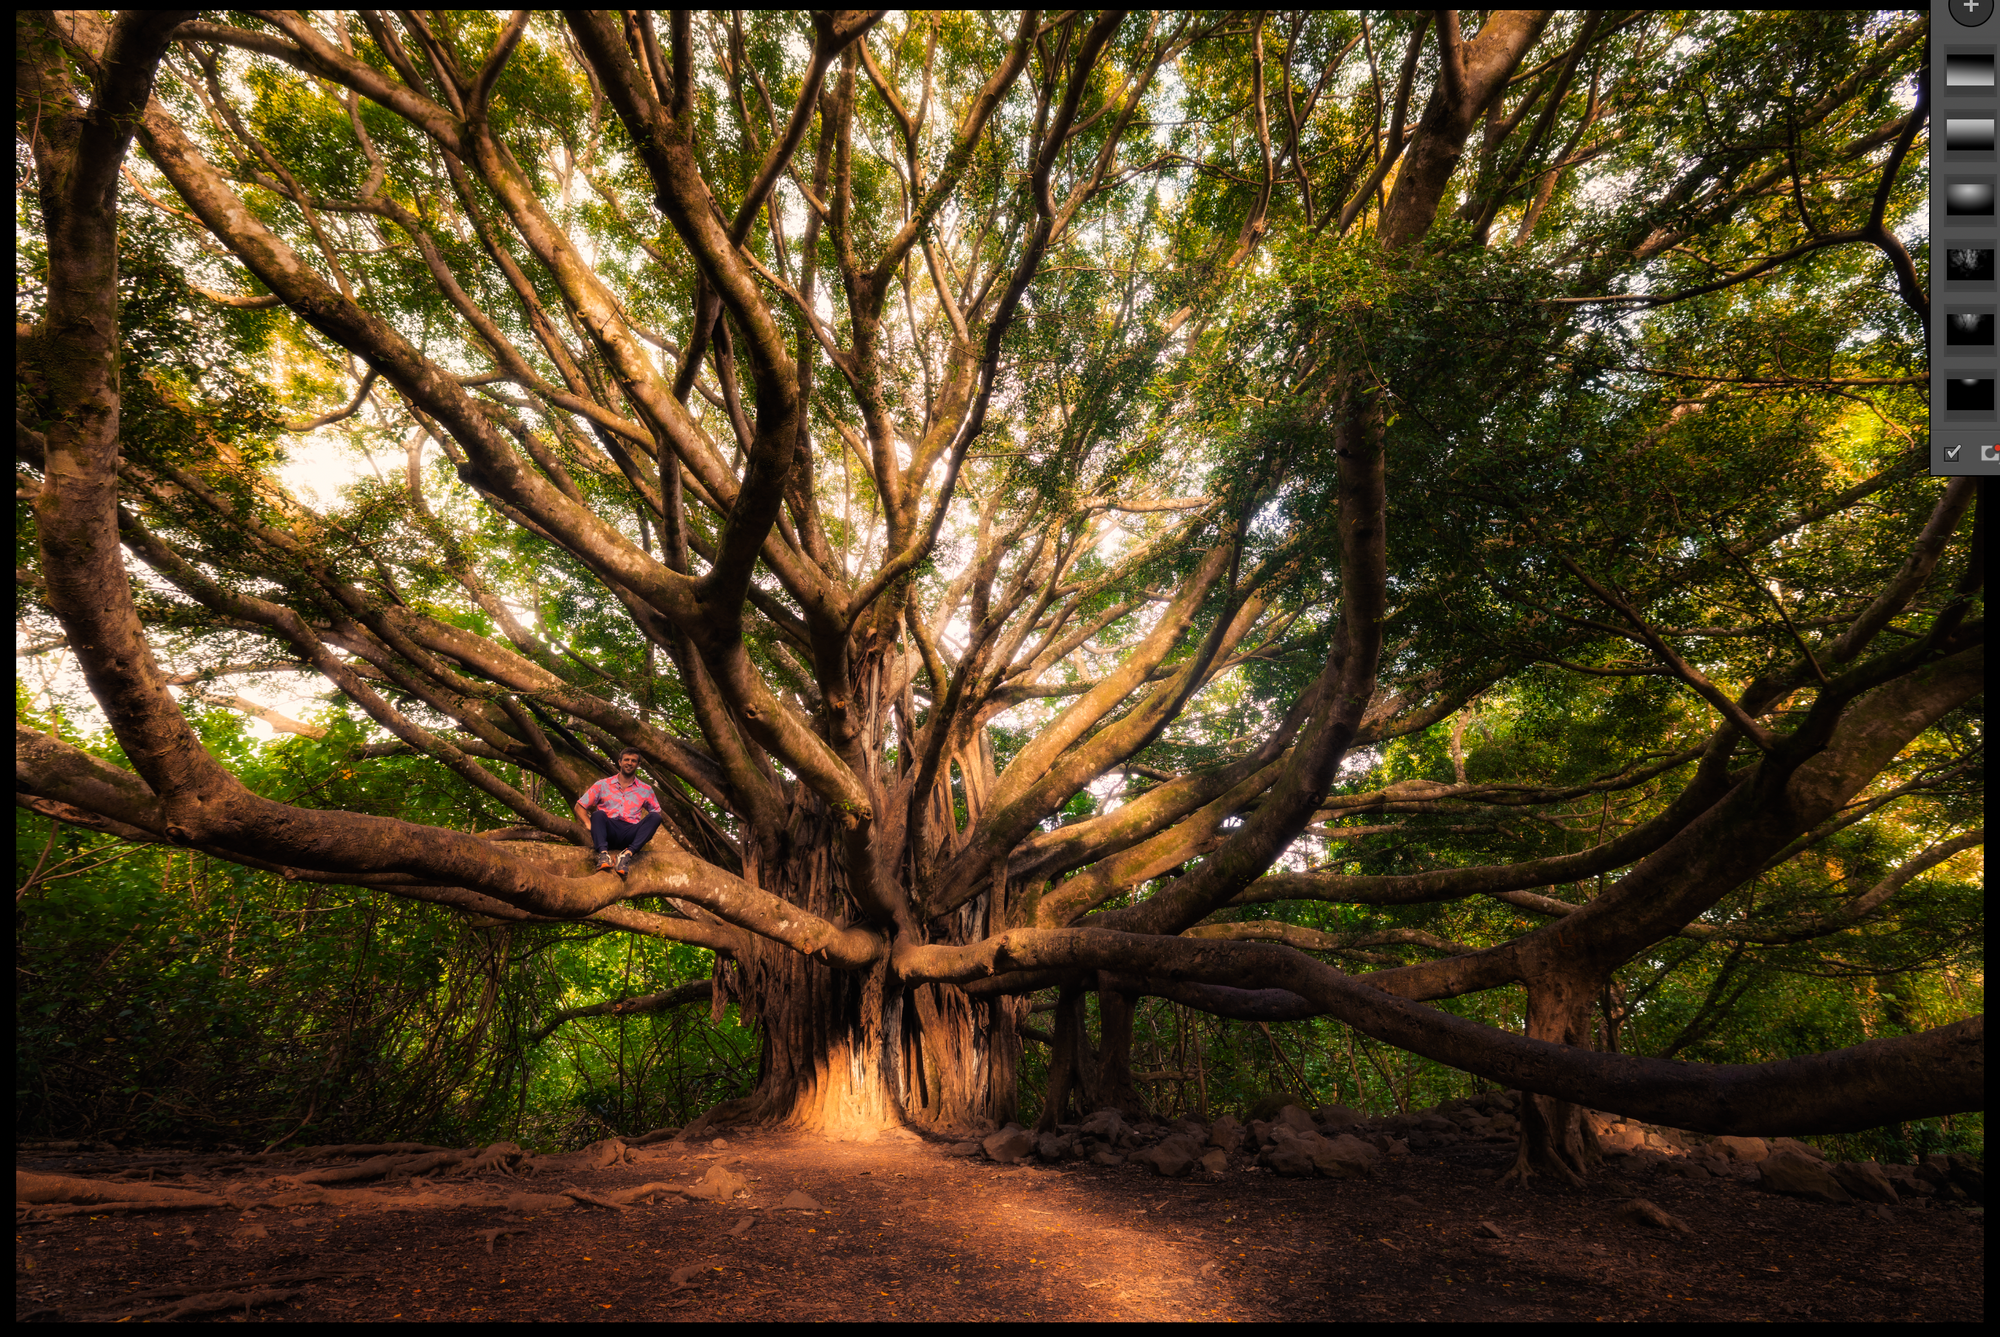
I took a few shots as other hikers passed by. It was only an hour until they locked down the parking lot for the evening, so most people were headed down from the waterfall up ahead. Eventually we got a nice gap. I wanted a shot that had some branches to lead you into the tree. I could have framed it better, and after reviewing a number of shots, picked the one with Keegan in it, since I liked having the human in there for scale. I have an identical shot without him to really be artsy. Here's the RAW.

Into Lightroom
I had a plan in mind for the edit and got to work:
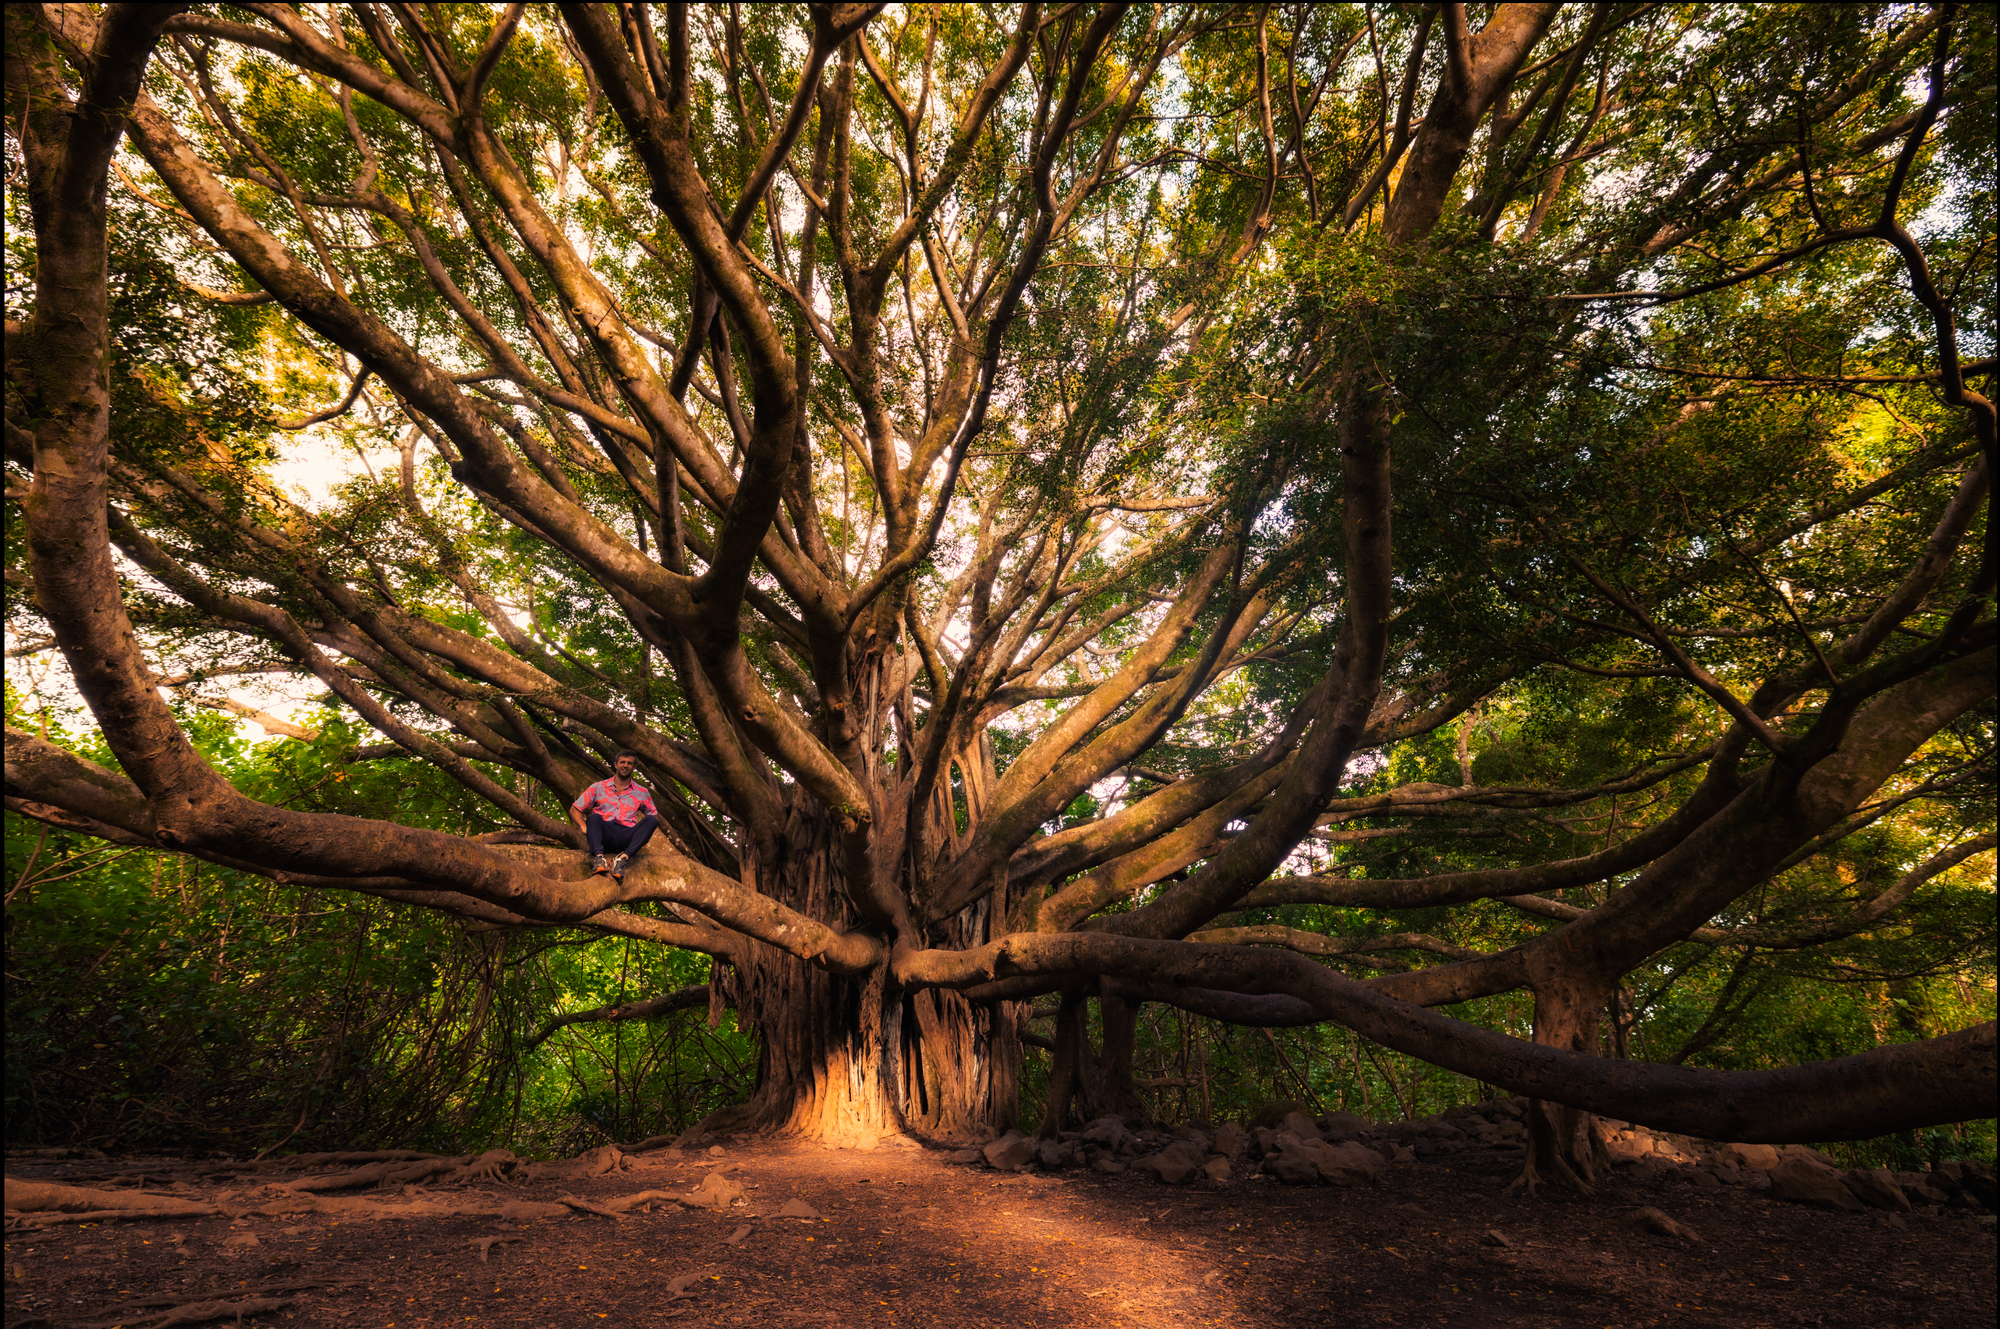
- add a golden light amongst the branches, but don't go too yellow
- make the overall image pop more
- let the epicness of the branches stand out
Usually I get into Lightroom and start dragging sliders around. Different approach this time, I had a plan of action and went about making it happen, experimenting with some things along the way.
Lightroom edits:
Move to Photoshop
I didn't plan to do MUCH here. It didn't need a whole lot. There were just a few selective edits I wanted to make happen, and I like getting the practice in PS vs LR.
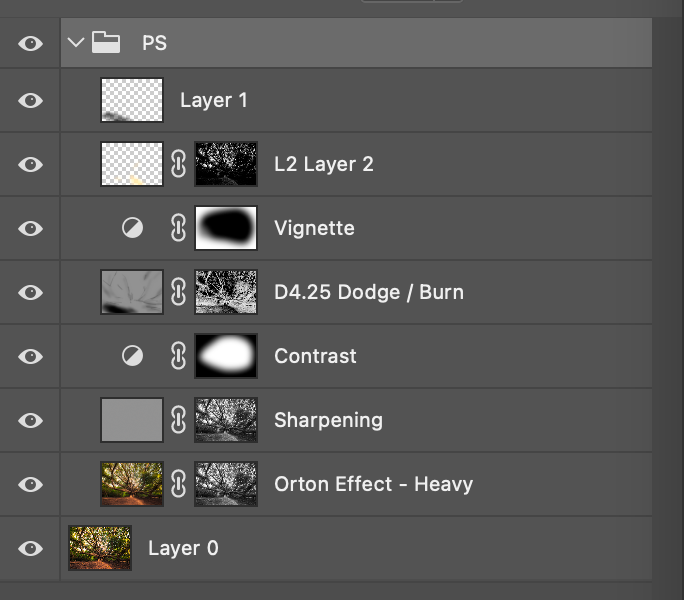
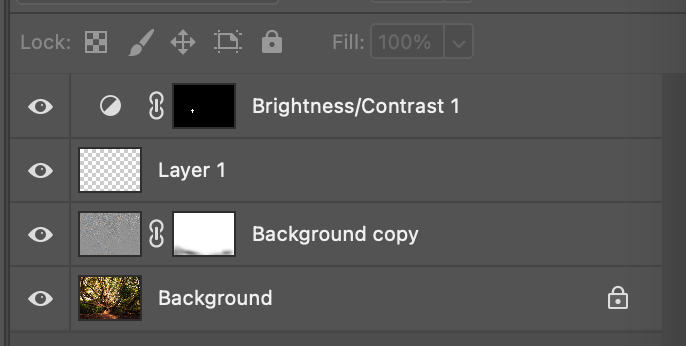
From bottom to top:
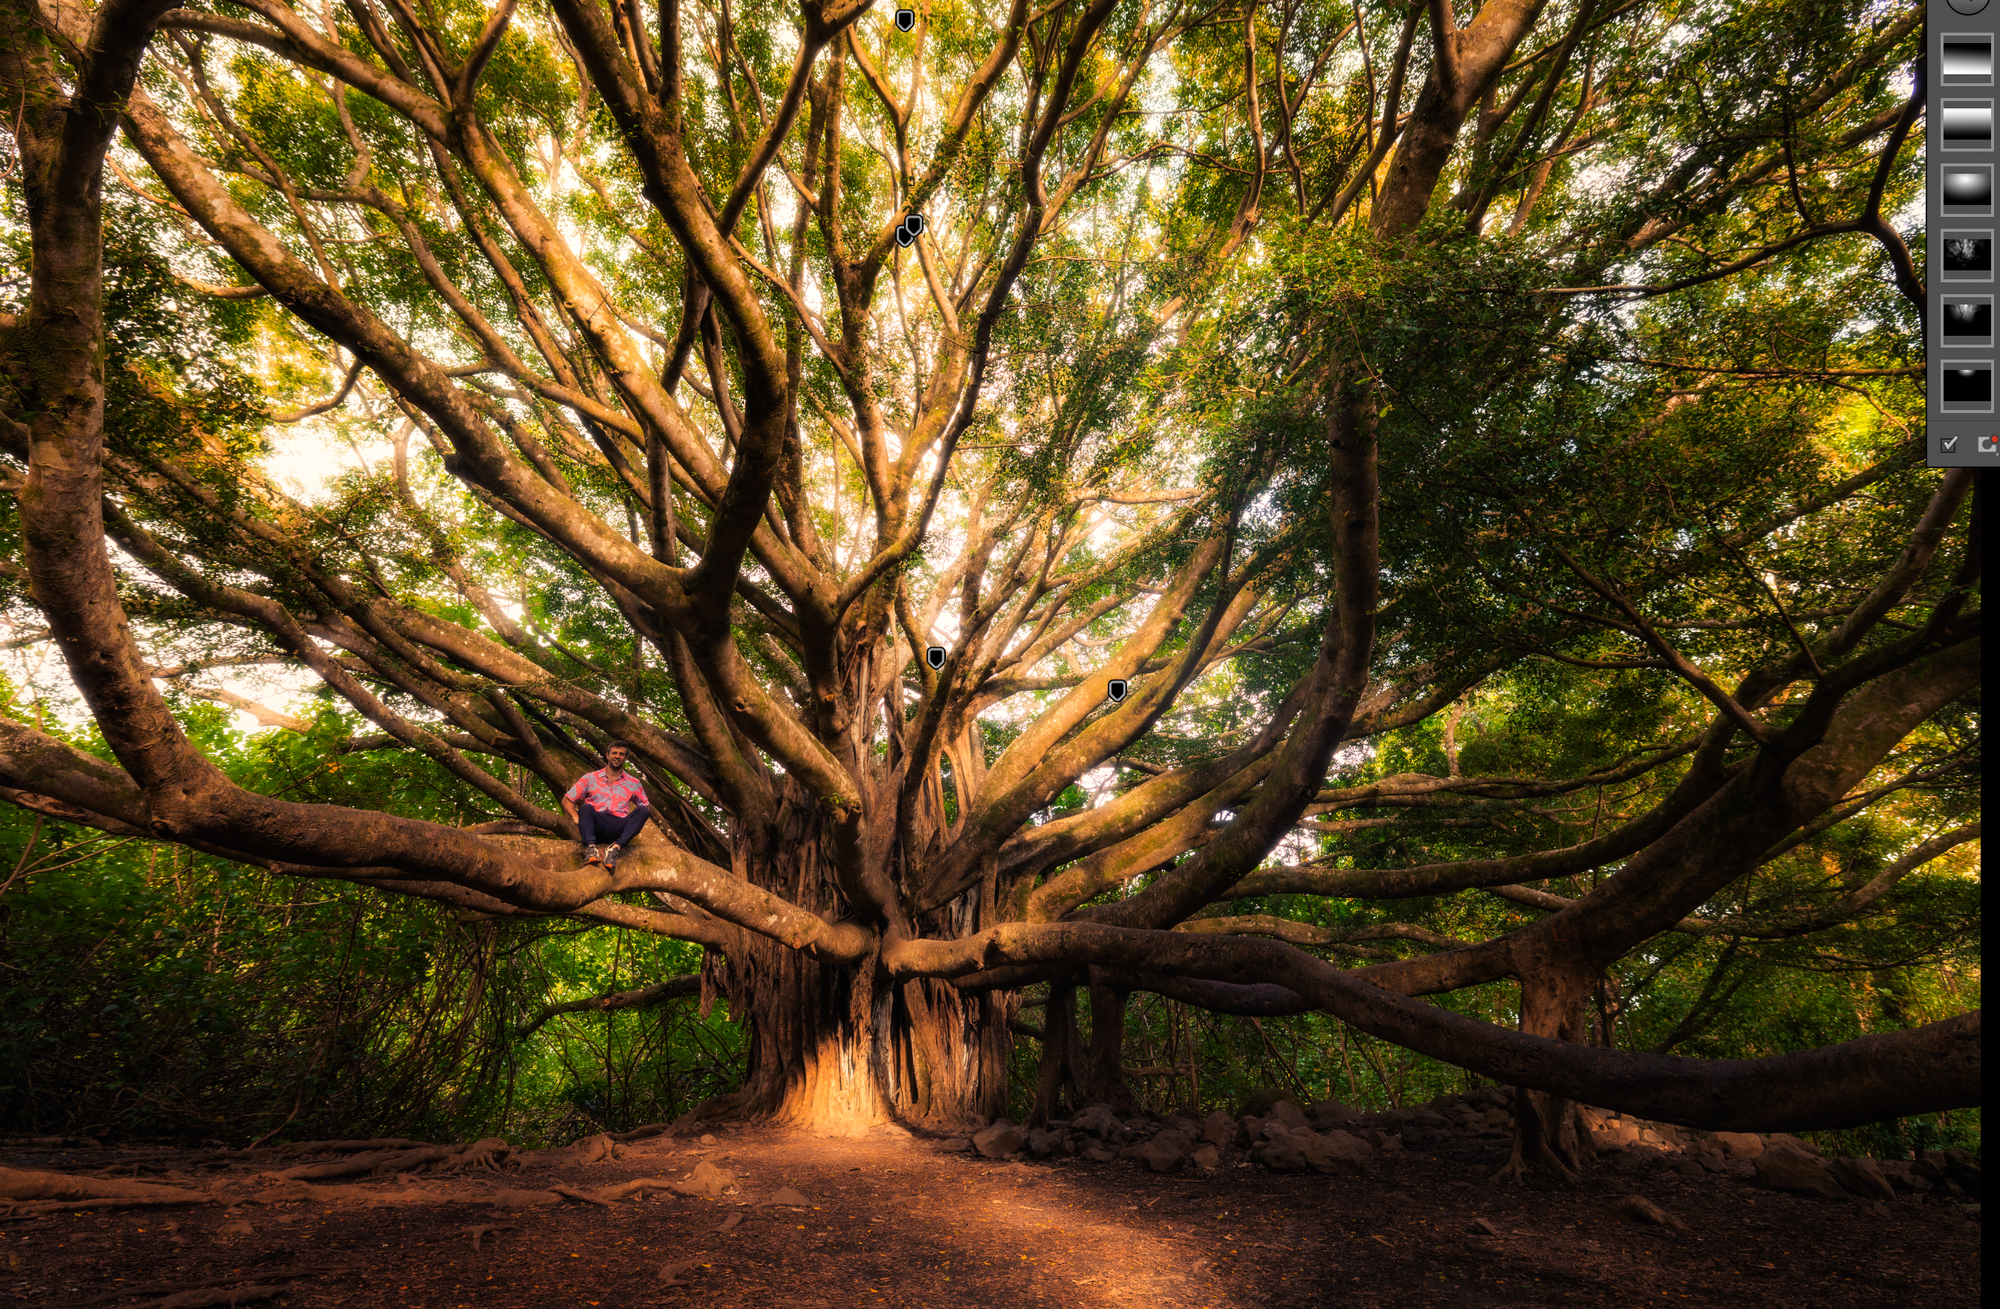
- added a heavy orton effect for dreamy vibez, some sharpening as well.
- touch of contrast into the branches
- some dodge and burn into the tree and foreground to guide the viewer
- a custom vignette to remove light at the bottom
- make the light glow orange a little more, even more dreamy vibez
- darken that foreground a little more, its just some boring dirt after all
Sweet! Feeling good. Save and back to Lightroom to export.
Back in Lightroom
Really just looking to export and call it good. But maybe I could get a little more dreamy with it. I could do this over in PS, but let's add a really slight hazey golden glow. I masked in a couple very subtle edits, and my mom said this one looked better, so I kept it!
At this point I was happy with the photo, but figured I'd share it in a discord for a photography course I took earlier this year. Side note - wow, everything is happening on Discord these days.
A few people gave some really helpful feedback:
- it was just a bit TOO yellow overall
- some sharpening would help the branches stand out even more
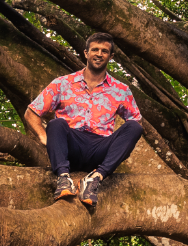
- you could almost miss the human - make him stand out a little more!
Back to photoshop again
I dialed the temperature down just a tad to make it a little less yellow. VERY slightly, cause I wanted to keep that glow.
Over in PS, I added a high pass filter with a pretty big radius. Bigger than I thought I'd need, but it really made those branches stand out. It took me FOREVER to figure out how to get from the gray lines. Youtube reminded me to actually use blending mode. PS isn't natural for me still.
A quick selection and I was able to brighten Keegan up a bit with a small adjustment. Very suble, but now he stands out.
OK. Save. Export from lightroom. We're done. Right?
Export
Just kidding, Keegan's shirt needs a quick tweak. It was the only red in the image, so I just tweaked that in LR HSL to recover some color from the brightening.

DONE! I don't know how much quality I lost saving this back and forth so many times, but planned to only post this on IG, so it's not like I needed the exceptional quality!